Tired of the copy-paste grind every time you need to email the same group of people? There’s a much smarter way. When you create an email group in Gmail, you unlock two powerful built-in methods: using Google Contacts labels for quick announcements or setting up a full Google Group for team collaboration.
Let’s turn that tedious task into a simple, one-click action so you can easily send a group email without repeating the same steps every time.
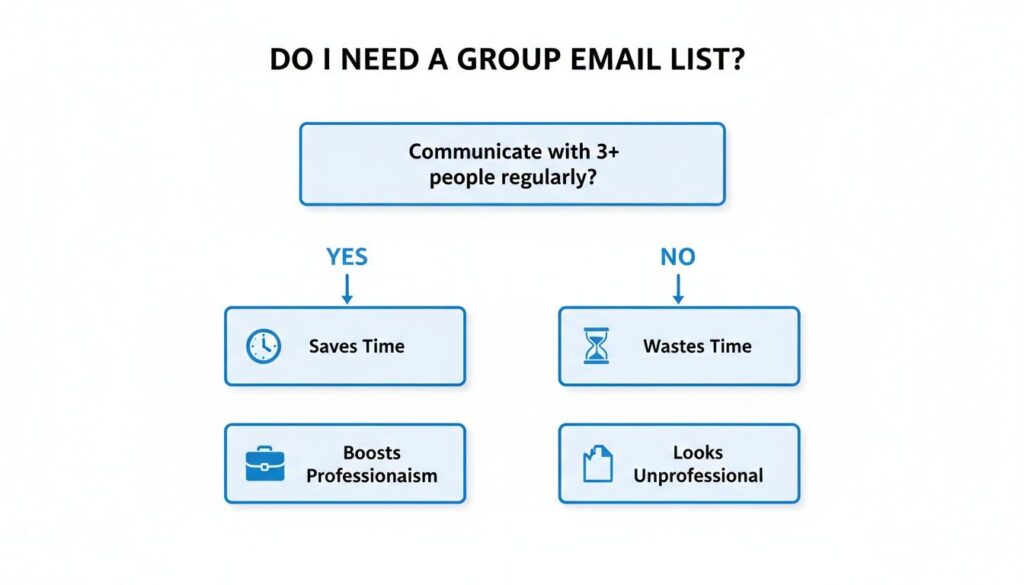
Why You Need a Smarter Way to Send Group Emails
Before diving into the “how,” let’s talk about the “why.” Manually adding contacts one by one into a new email isn’t just slow—it’s a recipe for mistakes and looks unprofessional. By using Gmail email groups, you can organize contacts efficiently and ensure that everyone in that group receives your message instantly.
A well-structured Gmail group email setup is more than a time-saver—it’s a communication powerhouse. When you create a group in Gmail, you can simply type the name of the group you want to send to, and Gmail automatically includes all the relevant contacts. This makes using Gmail email far more efficient, especially for repeated communication.
For a small business, this means instantly sending offers to loyal customers. For a project manager, it becomes a reliable way to keep teams aligned on deadlines. Setting up a proper Gmail group email system helps you communicate faster, reduce errors, and maintain a professional workflow every time you send a message.
Unlock Powerful, Efficient Communication
The real transformation here is how it improves your outreach. Imagine sending one email that lands in front of your entire project team, a specific segment of your customers, or all your new leads at once. That’s the efficiency we’re aiming for.
Considering Gmail holds a massive 30.7% of the global email client market share, mastering its features isn’t just a nice-to-have; it’s a core skill for effective communication.
A group email list isn’t just about saving time. It’s about creating a reliable, organized, and professional system that grows with you.
Before you create any groups, it’s worth understanding audience segmentation. Knowing how to divide your contacts from the start will make your email groups far more powerful. And if you’re looking to grow your audience in the first place, you might be interested in our guide on how to build an email list from scratch.
Let’s figure out which method is right for you.
Google Contact Labels vs. Google Groups at a Glance
Sometimes a simple list is all you need. Other times, you need the collaborative power of a full-fledged group. This table breaks down the core differences to help you decide.
| Feature | Google Contacts (Labels) | Google Groups |
|---|---|---|
| Best For | One-way announcements, personal use, small teams | Collaborative discussions, shared inboxes, forums |
| Setup | Fast and easy, done right in Google Contacts | Requires setting up a dedicated Google Group |
| Sending | Type the label name in Gmail’s “To” field | Send to a single group email address (e.g., [email protected]) |
| Replies | Go only to the sender (or “Reply All” to everyone) | Can go to the entire group or just the sender |
| Privacy | Recipients see all other email addresses in the “To” field unless you use Bcc | Members’ emails can be hidden from each other |
| Management | Only you can add or remove contacts from your labels | Members can join/leave, multiple owners can manage the group |
The takeaway: For quick announcements where you’re just pushing information out, Contact Labels are perfect. For teamwork where you need a shared space and two-way conversation, Google Groups is the clear winner.
Now, let’s start with the fastest and most direct method.
Method 1: Using Google Contact Labels for Quick Broadcasts
This is the simplest way to create a group email list in Gmail and is perfect for one-way communication. Think of it like putting a digital tag on a specific set of contacts. You’re not trying to start a big conversation—you just need to get the same information to the right people, fast.
To do this, you’ll use Google Contacts. It’s the address book for your Google account, and you can get there by clicking the nine-dot grid in the top-right corner of Gmail and selecting “Contacts.”
If you find yourself manually emailing the same group of people over and over, that’s a clear sign you’re wasting time that a group list could save.
Group Email List Gmail
As you can see, organizing your contacts doesn’t just save a few seconds—it improves your professionalism and prevents the frustrating manual work that leads to errors.
Creating Your First Contact Label
Once you’re in Google Contacts, look for the “Create label” option on the left-hand menu. Click it and give your new group a name that makes sense. Be specific! A vague name like “Group 1” will be useless in a few months.
Practical Example: A local yoga studio just wrapped up a weekend workshop. They want to send a thank-you email with a special discount to all attendees. They could create a label called “Weekend Workshop Attendees.” It’s clear, actionable, and easy to find later.
Now it’s time to add people to this new label. You have two main options:
- One-by-one: Open a contact, click the tag icon (“Labels” button), and check the box for your new label.
- In bulk: This is the real time-saver. From your main contact list, hover over each person’s picture and tick the checkbox that appears. After selecting everyone, click the label icon at the top of the screen and apply your “Weekend Workshop Attendees” label to all of them at once.
Sending Your First Group Email
Here’s where you see the payoff. Head back to Gmail and compose a new message.
In the “To” field, just start typing the name of your label—in our example, “Weekend Workshop…”. Gmail will instantly suggest the group. Select it, and voilà! Every email address from that label will automatically populate the field.
What used to be a tedious copy-paste job now takes about five seconds. This method is ideal for newsletters, quick project updates, event reminders, or any announcement where you’re the one doing the talking.
Method 2: Building a Collaborative Hub with Google Groups
When a simple broadcast list isn’t enough, it’s time to level up. For true collaboration, you need to create a group email list in Gmail using Google Groups. This is the best choice for teams, communities, or projects where everyone needs to talk to each other.
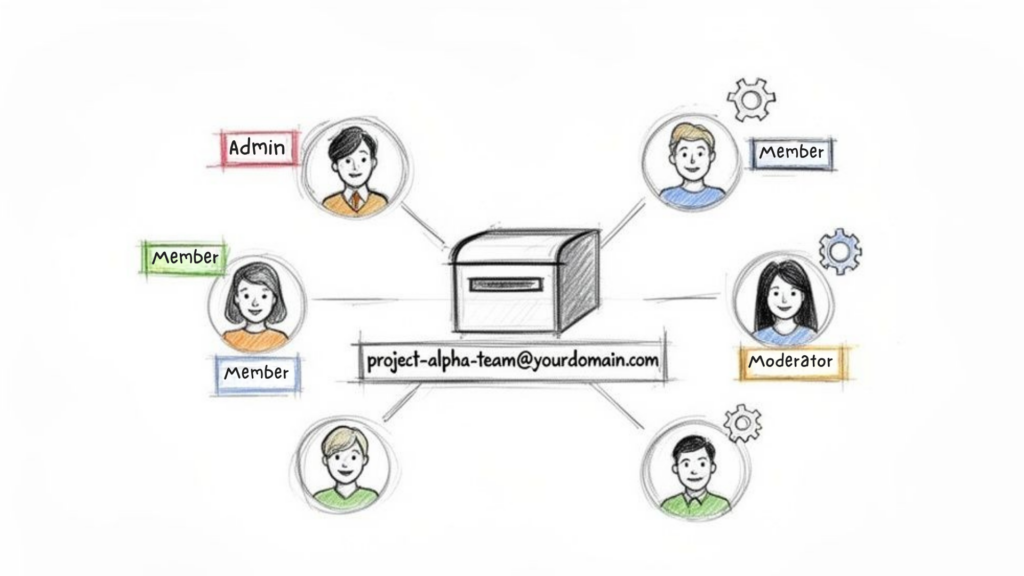
Unlike a contact label, a Google Group gives you a dedicated, shareable email address like [email protected]. This transforms a simple list into a real collaborative space where conversations are organized, archived, and searchable.
Practical Example: A startup can create a group for their beta testers ([email protected]) to collect feedback in one place. An agency can create one for a specific client project ([email protected]) to keep all communication centralized.
Group Email
Setting Up Your Google Group
Getting your group started is straightforward. Just go to Google Groups and hit “Create group.” You’ll walk through a few screens to name your group, create its email address, and write a quick description.
The most important step is configuring permissions. This is where you define what your group is actually for. Key options include:
- Email List: The most basic setup. Members can send and receive emails via the group address. It’s a direct upgrade from a contact label.
- Web Forum: Creates an online community space where members can post and reply to topics on the web, keeping discussions organized.
- Q&A Forum: A game-changer for support teams. It structures conversations into questions and answers, building a searchable knowledge base over time.
Actionable Tip: If you’re creating a group for customer support, you must set “Who can post” to “Anyone on the web.” If you forget this step, emails from your customers will get blocked, and your support queue will be silent for all the wrong reasons.
Managing Members and Moderation
Once the group is created, you can add members directly or send invitations. This is where Google Groups shines—it offers granular control. You can decide who sees the member list, who can post, and whether new messages need approval before going out to everyone.
This level of control keeps your group focused and reduces noise. For businesses, this is also crucial for deliverability. With Gmail’s 95% average deliverability rate, a properly configured group helps you stay out of the spam folder, especially with the strict authentication rules rolled out by Gmail and Yahoo. You can find more insights about these deliverability statistics to see just how big an impact this has.
Sending Emails and Managing Your Groups Like a Pro
Alright, your groups are set up. Now for the easy part—using them.
Whether you made a quick contact label or a full-blown Google Group, sending an email is a breeze. Just open a new message in Gmail and start typing the group’s name into the “To” field. Gmail’s autofill does the rest.
But here’s a crucial action to take every time: protect your members’ privacy. This isn’t just a courtesy; it’s how you build trust and maintain a professional image.
Pro Tip: Always put your group’s name in the Bcc (Blind Carbon Copy) field. Do not use the “To” or “Cc” fields for broadcast-style emails. This one simple move hides all recipient email addresses from each other. It prevents accidental reply-all storms and makes your communication look clean and respectful.
Keeping Your Group Email List Healthy
Your groups won’t stay the same forever. People join, people leave. Keeping your lists updated is fundamental to making sure your messages land where they’re supposed to. A little maintenance goes a long way.
All management happens right where you started—in Google Contacts for labels or on the Google Groups site for groups.
Here’s a quick rundown of essential maintenance tasks:
- Adding New Members: Open a person’s contact card and assign the right label, or add their email directly within your Google Group’s member list.
- Removing Members: Find the contact, click the label icon, and uncheck the box for that group. In Google Groups, it’s just as easy from the member management screen.
- Renaming a List: In Google Contacts, find your label in the left-hand menu, hover over it, and click the pencil icon to give it a new name.
- Deleting a Group: If a list is no longer needed, just hover over the label in Google Contacts and click the trash can icon. This only deletes the label itself—your contacts are safe.
This “list hygiene” is a simple but powerful practice. For businesses with dynamic contact lists, you can even explore ways to integrate Google Sheets with your systems to automate and streamline how you manage this information.
Important Gmail Limits and Best Practices to Follow
Before you start blasting emails to your new groups, understand this: Gmail is not a dedicated bulk email service like Mailchimp or ConvertKit. Google has strict rules to fight spam, and you need to play by them to keep your account in good standing.
A free Gmail account has a sending limit of about 500 recipients every 24 hours. If you exceed that, Google may temporarily lock you out. This makes Gmail groups perfect for small-scale, targeted communication but a poor choice for mass marketing.
Master Your Group Email Etiquette
Getting the most out of your groups without hitting limits—or annoying people—comes down to a few key habits. Following these practices ensures your message is a welcome arrival, not just more inbox noise.
- Always Segment Your Lists: Don’t lump everyone into one giant bucket. Create specific labels like “Project Team,” “Book Club Members,” or “Q4 Sales Leads.” This ensures every email is relevant to the people receiving it.
- Protect Privacy with Bcc: We’ve said it before, but it’s worth repeating. Using the Bcc field for group announcements is non-negotiable. It’s a simple sign of respect that prevents privacy breaches and reply-all chaos.
- Clean Your Lists Regularly: Periodically review your groups and remove contacts who are no longer active or relevant. A clean list improves your sending reputation and engagement. Learn more about why this matters in our guide to increasing email open rates.
A clean, segmented, and respectfully managed email list is the foundation of effective communication. It’s not just about who you can email, but who wants to hear from you.
Finally, to ensure your emails actually land in the inbox, it’s critical to follow established email deliverability best practices. This helps you avoid being flagged as spam.
Frequently Asked Questions
Once you start creating group emails in Gmail, a few questions always come up. Here are the answers to the most common ones.
Conclusion
In conclusion, learning how to create an email group in Gmail is simple when you follow a few clear steps: open Google Contacts, select the contacts you want, and create a group in Gmail using labels. Once set up, you can easily send a group email without manually adding each recipient every time.
By organizing your contacts into labels, using Gmail email groups becomes much more efficient. When composing a new email, just type the name of the group you want to send to, and Gmail will automatically include everyone in that group. This streamlined approach makes it easy to manage contacts and send messages quickly while keeping your communication organized and professional.
Overall, a well-structured Gmail group email system saves time, reduces errors, and ensures you can consistently reach the right people whenever you need to send an update or message.
If you’re looking to move beyond simple group emails and automate customer conversations at scale, Clepher can help. Our AI-powered platform helps you build chatbots for your website, Messenger, and Instagram to capture leads, answer questions, and drive sales 24/7.

Related Posts
What Is an Open Domain Chatbot?
April 11, 2026Conversational AI for Sales: Your 2026 Guide to Boosting Revenue
April 10, 2026Transform Your Sales Game with an AI Powered Sales Assistant
April 9, 2026
Founder Clepher