Forget paying for a complicated tool just to send a group email. You can easily create a mailing list in Gmail using your existing list of contacts, and the secret is surprisingly simple: it’s all about using an email label in Google Contacts. This method lets you organize a group of people into one place so you can quickly reach everyone on the list without extra effort.
It’s a no-cost, highly effective way to stay organized and send targeted messages without relying on complex tools. Let’s turn that messy contact list into a powerful marketing tool that helps you communicate faster and more efficiently.
Why Use Gmail for Your First Email Lists?
Create Email Lists in Gmail
Before we jump into the “how,” let’s talk about why this is such a smart move. For small businesses, freelancers, or anyone just starting, Gmail is more than an inbox—it’s a free launchpad for building foundational email lists.
This isn’t about replacing a dedicated email service provider (ESP) forever. It’s about using the platform you already know to organize your network, segment your first leads, and manage communications for projects or small promotions without the extra cost or learning curve.
The Strategic Advantages
Using Gmail and Google Contacts gives you immediate wins:
- No Cost to Start: Organize hundreds of contacts without spending a dime. Perfect when you’re on a tight budget.
- Familiar Interface: You’re already in Gmail every day, so managing lists feels natural. No new software to learn.
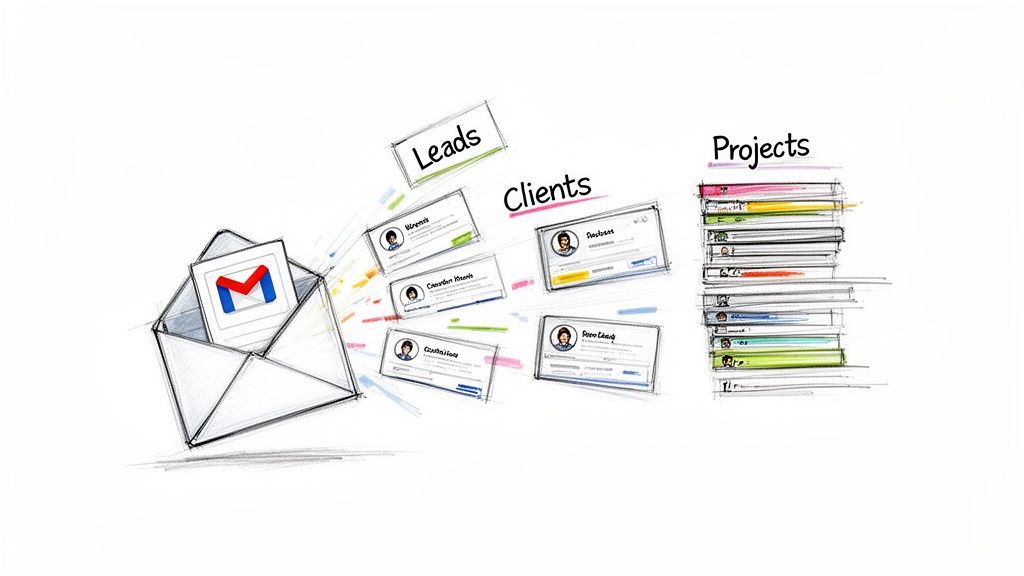
- Practical Segmentation: Easily create separate lists for different groups, like “Potential Clients” and “Current Customers.”
Think of it as a launchpad. You get to nurture early customer relationships and test your messaging before you ever need a more advanced tool.
A Foundation for Growth
For example, a freelance photographer can create labels like “Wedding Inquiries 2026,” “Corporate Clients,” and “Workshop Attendees.” This simple step makes it easy to send tailored follow-ups, relevant updates, or special promotions to the right people.
Getting this organization right is a huge step in building an effective marketing system. To dive deeper into the overall strategy, you can learn more about how to build an email list in our comprehensive guide.
Best of all, when your business grows, these neatly organized contact lists can be exported and imported into more powerful platforms. Your initial effort pays off down the road.
How to Create an Email List in Gmail (Step-by-Step)
Alright, let’s get into it. This is where theory ends and action begins. We’re going to create your first email list, and it’s simpler than you think.
Here’s the secret: Gmail itself doesn’t have “email lists.” It uses Labels that you create and manage inside Google Contacts. Think of them as simple tags for grouping people.
Let’s imagine you’re a freelance designer with potential clients and active clients. Mixing them up in an email would be a disaster. Labels are how you keep them separate and send the right message every time.
Step 1: Create Your First Label
First, get out of your inbox. Everything happens in Google Contacts, which is already tied to your Gmail account.
This dashboard is where the magic happens.
This is your command center for organizing everyone you communicate with. See that “Create label” button in the left sidebar? That’s your starting point.
Click it, and a pop-up will ask you to name your new label. This seems small, but it’s critical. A vague name now will cause major headaches later.
Pro Tip: Don’t just call a list “Clients.” Be specific. Use names that give you instant context, like “Prospective Clients – Q3 2024” or “Active Projects – Website Redesign.” Six months from now, you’ll thank yourself.
Step 2: Add Contacts to Your New Label
With your new label ready, it’s time to add people. Google gives you a few ways to do this.
Here are your main options:
- Manually, One by One: Hit “Create contact,” fill in their name and email, and assign them to your new label right from that screen. Perfect for adding a new lead immediately after a call.
- From Existing Contacts: This is the fastest way. Hover over any contact in your main list, and a checkbox will appear. Tick the boxes for everyone you want to add, then click the “Label” icon at the top of the screen. You can add a dozen people to a list in seconds.
- Straight from Your Inbox: When you get an email, hover over the sender’s name. A contact card will pop up. Click the “Add to contacts” icon. Once they’re saved, you can open their profile in Google Contacts and stick them under the right label.
Back to our freelance designer. They can now scan their contacts, check the box next to all their active clients, and drop them into the “Active Projects” label. It’s a 30-second action that brings instant order to their workflow, ensuring project updates only go to the right people.
Bulk Importing Contacts with a CSV File
Adding contacts one-by-one is fine at first, but it doesn’t scale. What happens when you get a spreadsheet full of leads from a trade show or a webinar?
This is where you stop doing things the hard way. Instead of losing hours to manual data entry, you can upload your entire list in minutes using a simple CSV file. For example, a local bakery could import its first 100 contacts in less time than it takes to brew coffee. It turns a painful chore into a smart, scalable process.
Preparing Your CSV File for Import
A little prep work here saves a major headache later. Google Contacts is picky about formatting, and a poorly organized CSV file will be rejected. The secret to a smooth import is getting the column headers right.
The two most critical columns are Name and Email. Get those right, and you’re halfway there.
Essential CSV Columns for Gmail Import
To make this foolproof, structure your spreadsheet with specific headers that Google Contacts understands. Here’s a cheat sheet for the most important columns.
| Header Name | Description | Example |
|---|---|---|
Name |
The full name of your contact. | Jane Dough |
Email |
The primary email address for the contact. | [email protected] |
Phone |
The contact’s main phone number. | 555-123-4567 |
Notes |
Add context like “Met at 2026 Expo” or “Webinar Lead”. | Webinar Lead |
Just make sure the first row of your spreadsheet contains these exact header names. Google will use them to map the data to the correct fields.
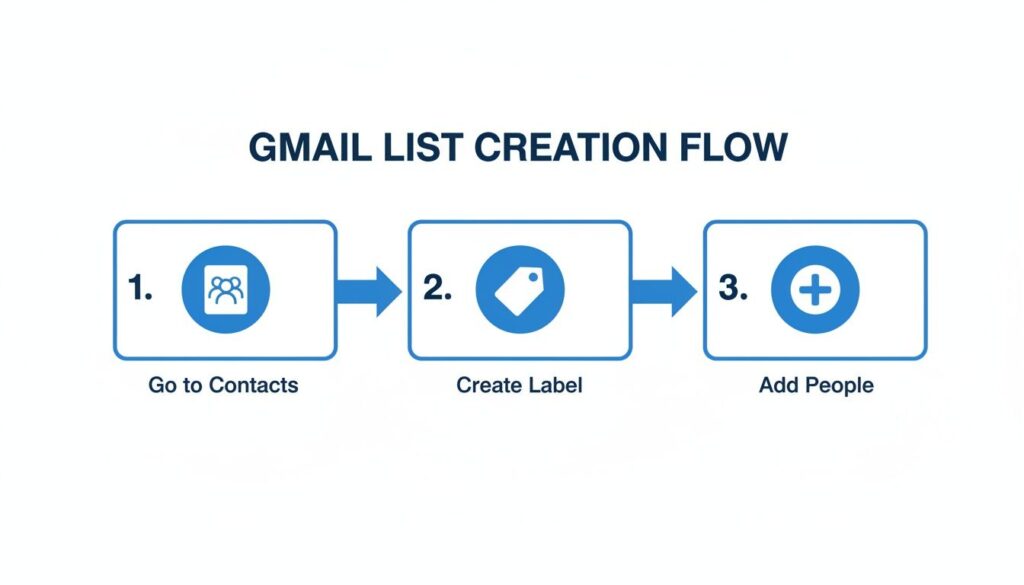
Gmail List Creation Flow
The process is that simple: get your contacts in a file, put them into a labeled group, and start communicating.
Once your file is ready, head to Google Contacts and hit “Import” in the left-hand menu. Select your CSV file. You can even add all the new contacts directly to a label during the import step, saving you from organizing them later.
But here’s the catch: A successful import doesn’t guarantee a successful campaign. If your list is full of typos or old email addresses, your bounce rate will skyrocket. This kills your sender reputation and gets your emails flagged as spam.
Cleaning your list before you upload it is non-negotiable. It protects your sender score and ensures your messages actually land in front of real people. For a guide on keeping your data clean, check our tutorial on how to integrate BriteVerify to keep your lists clean.
Sending Emails to Your Groups The Right Way
Sending to Email Lists in Gmail
You’ve organized your contacts into neat labels. Now for the most important part: reaching out without making a disastrous (and common) mistake.
To send a group email, open a new message in Gmail. In the recipient field (To, Cc, or Bcc), start typing the name of your label. Gmail will suggest the group. Click it, and every contact from that label gets added. Simple.
But how you add them is what separates the pros from the amateurs.
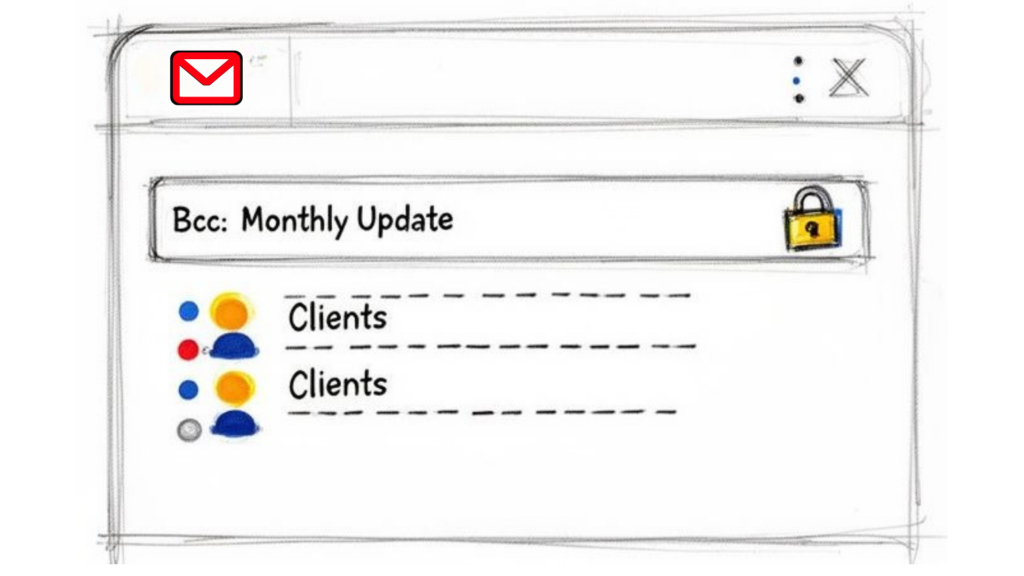
The Critical Importance of Using Bcc
I’m going to be direct: never put your group list in the “To” or “Cc” field. Ever.
Doing so exposes every single person’s email address to the entire group. This is a massive privacy breach, looks unprofessional, and can even violate data privacy rules like GDPR.
The only correct way to email your list is by using the Bcc (Blind Carbon Copy) field. This one small action makes all the difference. When you use Bcc, each person receives the email as if it were sent only to them. It protects their privacy and maintains trust.
If you want to lose credibility fast, expose your entire contact list. Using Bcc isn’t just a feature; it’s a sign of professionalism and respect for the people you’re emailing.
Crafting Emails That Actually Get Opened
Sending the email is just step one. You need people to open and read it. The good news is that email lists targeting Gmail users can see open rates around 19.2%. But with subject lines driving 47% of those opens, you have to get it right. You can dig into more of these numbers in these powerful Gmail statistics.
To boost your open rates and stay out of the spam folder, here are a few actionable tips:
- Write a Clear, Honest Subject Line: Forget spammy clickbait like “Free!” or “Urgent!” Focus on the value inside. A subject like, “June Insights for Your Design Projects” is clear, direct, and far more effective.
- Keep Your Message Scannable: 75% of Gmail users read their emails on a mobile device. That means your message has to be easy to digest on a small screen. Use short paragraphs, clear headings, and bullet points.
By sending emails responsibly and writing them thoughtfully, your simple contact list becomes a powerful communication tool. For more tips, check out our guide on how to increase email open rates.
Automating Your List Building with Other Tools
Manually managing your Gmail contact lists is a great start, but it has limits. For real growth, you need to automate the process by connecting your list-building efforts to your other marketing channels.
This is where you shift from simply collecting contacts to building a marketing engine that works for you 24/7. A tool like Zapier is perfect for this—it acts as a bridge, connecting your lead generation sources directly to Google Contacts without any manual work.
A Practical Automation Workflow
Imagine you’re a fitness coach running a promotion. A potential client sends a DM on Instagram, and your Clepher chatbot grabs their name and email.
Instead of you copying and pasting that info, Zapier can instantly create a new contact in your Google account and apply a label like “New Gym Leads.” You’re building email lists in Gmail without ever opening Google Contacts.
This simple workflow transforms a tedious manual task into a hands-off lead nurturing machine. The second a new lead is captured, they’re automatically segmented and ready for your welcome email, moving them down your funnel instantly.
This kind of automation is a game-changer. With over 1.8 billion active users, Gmail is a goldmine. By using a tool like Clepher to capture leads on platforms like Messenger or Instagram, you can tap into this massive audience and sync them directly to your Gmail lists.
While building lists in Gmail is a solid foundation, you might eventually look into dedicated email platforms for more advanced features. For deep dives into different email tools and strategies, the Receiver HQ blog is a fantastic resource.
Frequently Asked Questions
Once you start building email lists in Gmail, a few questions almost always come up. Let’s tackle them head-on so you can avoid common roadblocks.
Ready to move beyond manual list management and put your lead generation on autopilot? Clepher helps you capture, segment, and nurture leads from your website, Messenger, and Instagram automatically. Start building your automated marketing engine today.

Related Posts
Conversational AI for Sales: Your 2026 Guide to Boosting Revenue
April 10, 2026Transform Your Sales Game with an AI Powered Sales Assistant
April 9, 2026No-Code AI Agent Builder: Your 2026 Growth Playbook
April 8, 2026
Founder Clepher