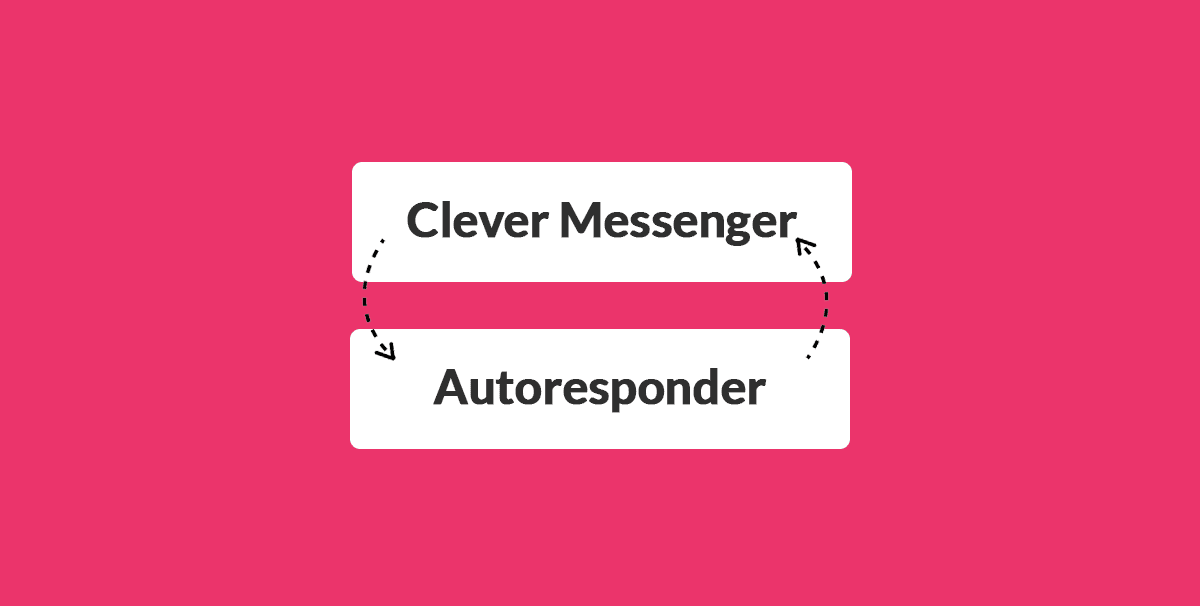
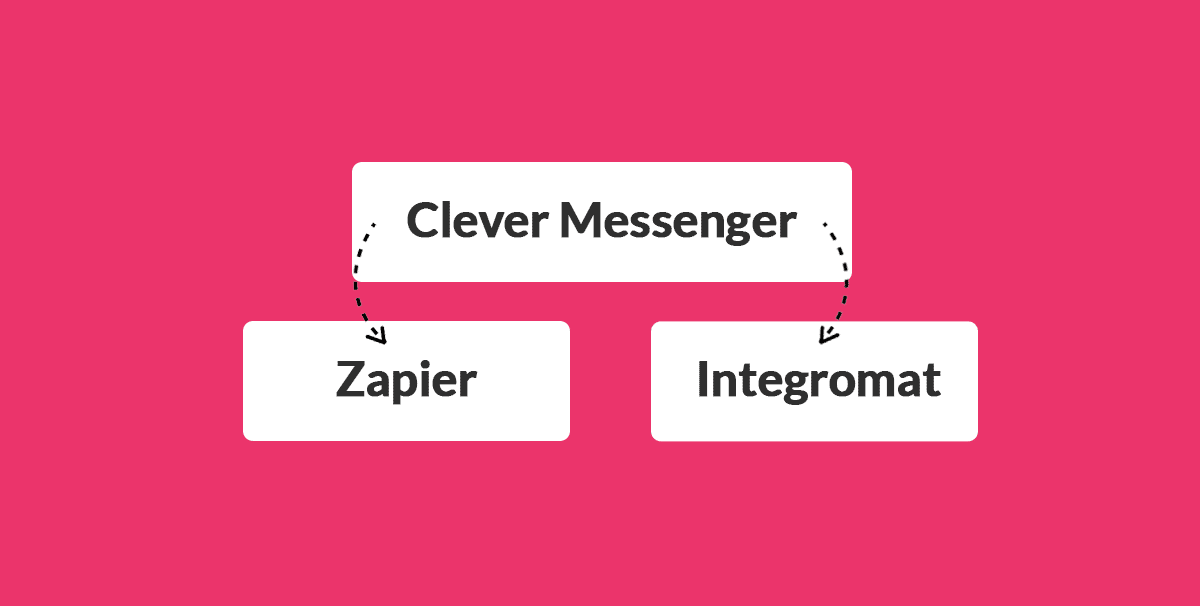
- Hey, and welcome to module 3.3, Integrate your Autoresponder. And in this video, you are going to discover how to set up a connection between your Autoresponder and Clepher, and how it all ties together. The reason why I put like a general email, Autoresponder or an email icon, right there, is because this actually works with any of the native integrations. What we are going to do, and this is something I probably repeat throughout the next couple of videos as well, is that we are going to use Active Campaign. Active campaign is our Autoresponder, the Autoresponder we like to use. However, we got a bunch of other integrations going on with other Autoresponder as well which might be your Autoresponder. So they all work in the similar fashion, meaning what you can do with Active Campaign, you can do with any of the other Autoresponder integration cards we have set up inside the Flow composer as well. So basically this is an explanation, one fits all explanation, if you will. With that said without any further ado, let's get started. All right. And just like that, you are inside Clepher again, in this video, you are going to discover how to integrate your email Autoresponder with Clepher with your chatbots. Now all you need to do is basically click on the cork wheel again and navigate to dashboards. And for this demonstration, we are going to use Active Campaign. However, we got a bunch of other integrations as well. And if your integration, or your third party tool that you would like to use is not there yet, do send us a message, and we make sure we get that integrated. However, if we want to still go a head with your third party tool and it's not integrated yet with Clepher natively, we still have a bunch of other options you can actually use. For instance, we have a Zapier, and Integromat integration and we are going to cover a little overview in the 6th video of this module. And we have the Webhook card which basically allows you to connect Clepher to any app you desire. At first, the Wehbook cards can actually seem a little bit daunting, a little bit technical, however, it's quite easy once you know what to do. And the Wehbook card is covered in the seven video of this module. With that out of the way, let's just continue and integrate our Autoresponder and all you need to do to start the process of integrating your Autoresponder, is clicking and Create New right here, only Integrations Manager. And this opens up, this popup right here, this model. And this is where we can actually select the third party tool we want to integrate, and we have a bunch of integrations. As you can see right here, we got Auto Responders. We've got Webinar platforms, you've got other integrations. We've got personalized Video and Audio, SMS and Email services, and a bunch more cool stuff right here. However, for this training, we are going to set up our Autoresponder ActiveCampaign because we want to siphon leads directly from Messenger into our Autoresponder. Again, if you have another Autoresponder you are using, basically to set up is the same thing each and every card on the Flow composer is set up in a similar fashion. So it's quite easy to actually follow this and do it for your Autoresponder. Again, if your Autoresponder is not listed right here, send us a message, we get it integrated right away, but don't let that stop you. We got to say Zapier and Integromat month and Webhook integrations, allowing you to continue the training already, making sure you can follow each and every step here after as well. Now, moving on, we are going to continue with our Autoresponder, that's ActiveCampaign. And let me just add the details right here. Now physically the ActiveCampaign URL in this case and the API key are blurred out, because I don't want that to be public. Each and every integration is a little bit different in terms of making the connection. Some third party tools actually require just like ActiveCampaign, a URL and an API key. However, some tools actually require some other details, and that's why the fields for each and every integration you integrate look a little bit different. In some cases there's actually no fields and you need to authorize an application we built on the third party tool. For example a Weber or go to Webinar, they actually require us to create an app on their side and you need to authenticate that application in order to have Clepher write data to your desired Autoresponder or Webinar platform. Now, with that said, let's just continue the setup and creating the actual integration is quite easy. We just filled out the details that are required. We gave it a name, ActiveCampaign Integration #1 and we're clicking on save. And just like that, we already integrated our Autoresponder. And as you can see, that's very, very simple. Now in the next video, you are going to discover how to actually generate that lead, and send it over to the Autoresponder. However, before we do just that, I want to showcase some of the other fields I've just been talking about, for example, here's iContact, and as you can see, it actually requires some other information right there. If we go to MailChimp, that only requires an API key. If we go to Mailvio, it's a different setup. For instance, if we go to Constant Contact, we don't have any fields at all, and you basically need to authorize your account by clicking that button and following the process thereafter. Just wanted to get it out there to you that each and every setup is a little bit different, but it should still be very, very easy to actually integrate your Autoresponder. And that's it for this video, in the next video we're going to create an Ask for Email Address Flow. Then in the video thereafter, you discover how to create a Lead Magnet Delivery Flow. And in video number 6 and 7 of this module, we're quickly going to touch upon the Zapier and Integromat integration. And in video number 7 you are going to see how to set up a integration with the Webbook cards. Very, very easy stuff.


