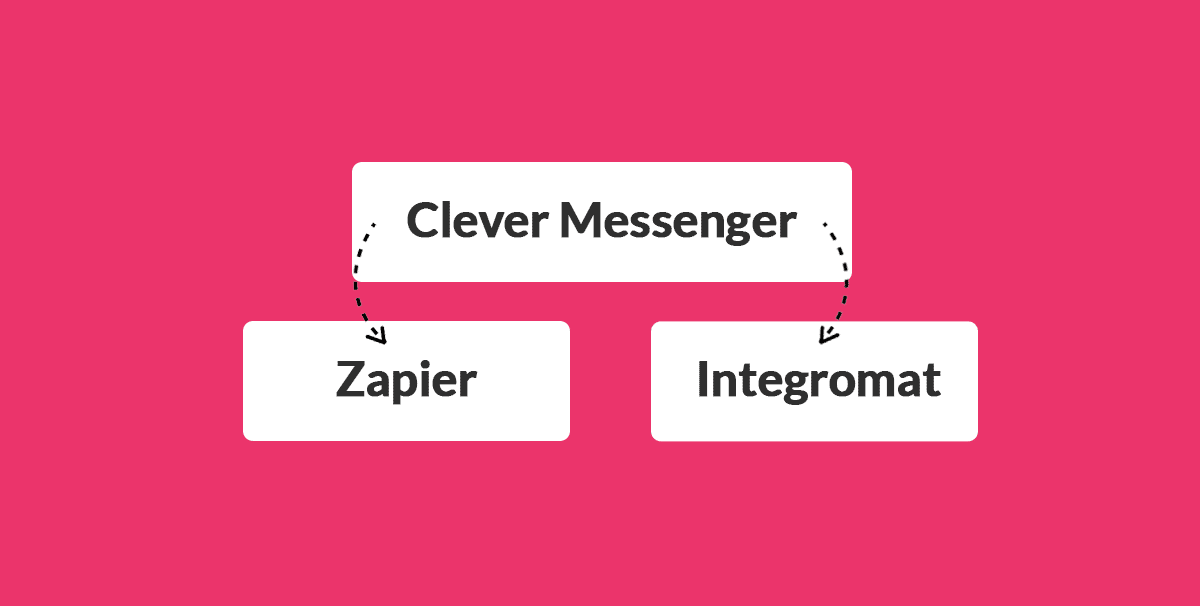
- Hey there and welcome to Module 3.6 Zapier and Integromat Overview. And like I said before, if you don't see your autoresponder natively integrated with Clepher, first send us a message. Tell us which autoresponder you use and we make sure that we get it integrated right away. Then don't let this stop you, because there is a big chance that Zapier or Integromat is integrated with your autoresponder and we do integrate with these 2 tools as well. Allowing you to continue this training and already reap the benefits of this entire training and get those results thereafter. Now in this video, I'm going to give you a quick overview of Zapier and Integromat and how we actually use this in the Ask for Email Address Flow. It's actually pretty, pretty simple if you know what to do, and this is all covered in this video. So without further ado, let's hop in right away. And just like that we're inside the Clepher app again. and in order to start the process of integrating Integromat and Zapier, all we need to do is click on the cog wheel again, right there, navigate to dashboard, go to Flows, right there , and as you can see, I already created a Flow that is named Zapier and Integromat overview. Now let me just hover over the action button right here, click on it and then click on edit. This takes us to the Flow composer and this specific Flow. And let me just open up another tab right here and showcase the other Ask for Email Address Flow. There we go. As you can see, it's quite similar, there's actually only one card that is different , and as I switched between both pages back and forth. You might actually see it. This is the Ask for Email Address Flow, which we created the earlier series. And this is the Zapier and Integromat's Ask for Email Address Flow. And as you can see, the only thing that's different is that we did not use the native ActiveCampaign integration card. We actually swapped it out with an action card right here. You can see right here as I opened it. We add a tag and we named the tag, Event: Email Address Captured. Now what we can do over at Integromat and Zapier, is basically listen whenever a subscriber is tagged and once that subscriber is tagged. We can do a bunch of other stuff using these two platforms. Now , first, I'm going to explain the Zapier side of things. And Integromat is a similar tool, works just a little bit differently as you will see in just a bit. So, first off , Zapier. I've already created the Zap right here. And as you can see right here, Clepher and ActiveCampaign are selected. Now if I open up the editor write here, there we go. You can actually see how this is set up. So we are using the trigger called New Tagged Subscriber in Clepher. Now the New Tagged Subscriber in Clepher is the app event as you can see right here. You can choose between New Tagged Subscriber in Clepher and new subscriber. However, for this purpose, we use new tagged subscriber, there we go. Then enter on our choose account, you simply put in your API key, which you find under configure right here. If we navigate to settings right there, click on configure. Right here on the right side of your screen , you have API key and a simple click actually copies the API key to the fields. You can actually watch it by clicking the eye icon here as well. And that's the API key you actually paste right here in choose account , and I'm not going to open that up because that will show my API key to the world. And we don't want that public. Now clicking on test trigger right here, there we go. And we set up Zapier in such a way that it already has test data. So once you perform the test, it actually already knows where to find what data based on the API key you put in. So there's not much you need to do here. Then on the ActiveCampaign side of things and do know that this does not obviously need to be ActiveCampaign. If you're using a different autoresponder, it can be any other autoresponder that's also connected to Zapier, but each and ever thing is set up in a similar way. Let me just show you. There we go. Here we need to choose an app event. We chose to go with create update contact. Here we need to choose an account. We basically need to fill out our account name and API key in this step. Then we set up the action. Basically we are choosing the fields we want to forward from Clepher to ActiveCampaign. And we specify them in the according fields. For instance, right here, we've chosen the Custom Field that holds the email. Here is the profile first name and the last name. Additionally, we also add the tag right here in this field, so that that tag is sent over to ActiveCampaign as well. Now , the rest we left all blank. This is basically old Custom Fields we actually capture. And that's actually it. Then you can actually test the action. And as you can see, we already tested it 16 hours ago and it will successful. Plus the lead was sent over from Clepher to ActiveCampaign. Now setting up a Zap is quite easy. I'm not going to show and demonstrate it in this video. There's a bunch of documentation on the Zapier side of things that can actually help you out with this kind of stuff. But to be honest , it's basically just pointing and clicking a couple of fields. If you do need help , our support desk is here to help you out. But again, I'm not a tech savvy person. And because of that, I'm positively that you're able to do that as well. Now, moving on to Integromat right here, it's a similar setup. And we created a Scenario. So what Zapier calls a Zap, they call a Scenario and all we need to do right here, is create a module that is watch new tech subscribers. Basically if you open it, you need to click on add. And ones you do another window, actually opens. And this is where you specify your API key. Then Integromat also goes ahead and watches for any new tech subscribers. And we'll send over any data you actually want to send over to the third-party application of your choice. Now , what we have chosen to do for this particular integration using Integromat again, this is the ActiveCampaign example because we have been using them throughout this module already. Now we have chosen to go with create, update contact and let me just open that up, fill out a couple of fields. This is a little bit more funky. We only need to extract a certain value from the field we are actually getting. It's quite easy. I can actually show you to do that. That might start to seem a little bit daunting right there. All you need to do is, go to the cog wheel right here in the Integromat. Then click on get right there, go back to the star icon, click on this arrow and click on the Custom Fields of your choice, which is a Custom Field, number one, ID number one. And we want to extract the value. There we go. Therefore first name and last name. We simply specify the values right here and clicked on okay. And that's basically it for Integromat. Very , very easy stuff. Again, I'm not a tech savvy dude. If I can do it, you can do it. However it doesn't mean that our support desk is not there for you. I mean, if you really run into some trouble right here, we can actually help you out set things up as well. Again, we have been using ActiveCampaign throughout this entire module. However, you can swap ActiveCampaign for any autoresponder you desire. Matter of fact, Zapier and Integromat, both integrate with over 2,000 applications. So if you don't see your third party tool natively integrated with Clepher, then your best bet is probably using Integromat or Zapier for the time being. Now do know, that if you see that your autoresponder or any other third-party tool you are using is not integrated with Clepher, do sent a message over to our support desk. And we make sure that that is natively integrated. That's that there's two things. With Zapier you can have a free account and with Integromat, you can have a free account as well. Zapier allows you to perform 100 tasks for free and create up to 5 Zaps. Integromat allows you to create unlimited Scenarios. However , you can only have 2 live and you have up to 1000 tasks. Now with that said, I really like both platforms, Zapier for its ease of use. I think for me, this was the easiest to set up. For Integromat, a little bit more to the technical side of things, as you can see right here with that formula , but that's basically it. Again, it's still very, very easy to use and they both offer similar functionalities. So my suggestion is to try out both and see which platform actually works best for you. Now, obviously, if you're already using Integromat or Zapier, then you probably want to stick with what you know. Now what that said, I just want to inform you, of one final thing. We have a bunch of native integrations integrated and you'll manage those under the integration manager. However, Zapier and Integromat are applications that function as a conduit, a middleware, if you will, basically Clepher being the primary receiver of the user data, Zapier, Integromat, being the conduit that sends the data over to the third party tool you want to have receive the data. This means that the entire setup either happens on Integromat or on Zapier. And the only thing you need to do is, make sure that your Flow has in this case, a tag that actually triggers the Scenario or Zap. And since this is an outside connection, you obviously need to know your API key which you can find right here in under Configure. Would that said, I'm going to wish you a lot of fun setting up your Zaps or your Scenarios. Again, do know that if you've got a question in setting this up, our support desk is there for you 24/7 answering questions. And even though this is very easy to set up, you might still run into an issue and that's okay. We are here to help 24/7. So send us a message. If you do need any help. Now with that said, I'm going to conclude this video. In the next video , we are going to get a little bit more technical, but I promise you it's actually pretty easy. We are going to showcase how the Webhook card works. So in a case that you do not want to use Zapier or Integromat or in that your third-party tool is not integrated yet with Clepher. You still have the ability to integrate your favorite, third-party tool with Clepher through the Webhook card. And that's exactly what we're going to cover in the next video.


